
Summary
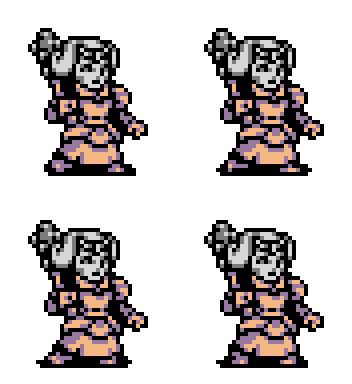
The Duchess of Queensbury is the end boss of Queensbury Crypt and the first major showcase fight of the game's boss design.
How the fight goes
The fight opens with a statue-like phase and then escalates into a more aggressive reveal. Stay patient, respect the arena, and punish only after the boss commits.
Attack patterns
Watch for wide swings, floor pressure, arrow fire, and the faster tentacle pressure once the reveal happens.
Spoils of the fight
This encounter marks the end of Queensbury Crypt and the beginning of the game's major boss route.
Best use cases
- Use this page before first attempts on The Duchess of Queensbury, then return after a few pulls to refine punish windows.
- Pair it with a defensive setup if you are still learning movement, or a damage setup once the pattern is familiar.
- Use the notes as a route checkpoint when deciding whether to spend Bones before continuing.
- Treat the first few attempts as scouting pulls: learn one safe answer per attack before chasing full damage rotations.
- If the fight blocks progression, favor repeatable survival over a faster clear; route consistency is the value this page should protect.
Route notes
- Fight notes belong with Queensbury Crypt.
- Suggested order context: The Duchess of Queensbury is tracked as boss #3 in the current route data.
- Reward details should be verified in-game before planning a strict completion route around them.
Tested notes
- Test safe openings first: one attack, reposition, then repeat until the recovery window is obvious.
- Watch for room hazards and approach lanes before judging the weapon matchup.
- Keep exact damage numbers flexible because patches, upgrades, and modifier settings can change the feel of the fight.
Common mistakes
- Greeding long combos after the first safe hit instead of resetting spacing.
- Entering with a route loadout when the fight needs a boss-specific defensive or damage setup.
- Ignoring the nearest Underlab and losing resources to repeated runbacks.
- Changing too many loadout pieces between pulls, which makes it harder to tell whether the improvement came from routing, spacing, or raw stats.
Related guide links
Related Content
- Location: Queensbury Crypt
- View All Bosses